By Beverley A. Laundry
Pumpkin Orange - Life as a Grownup

  1. 6
    12
    15

    Foxy Teacosy

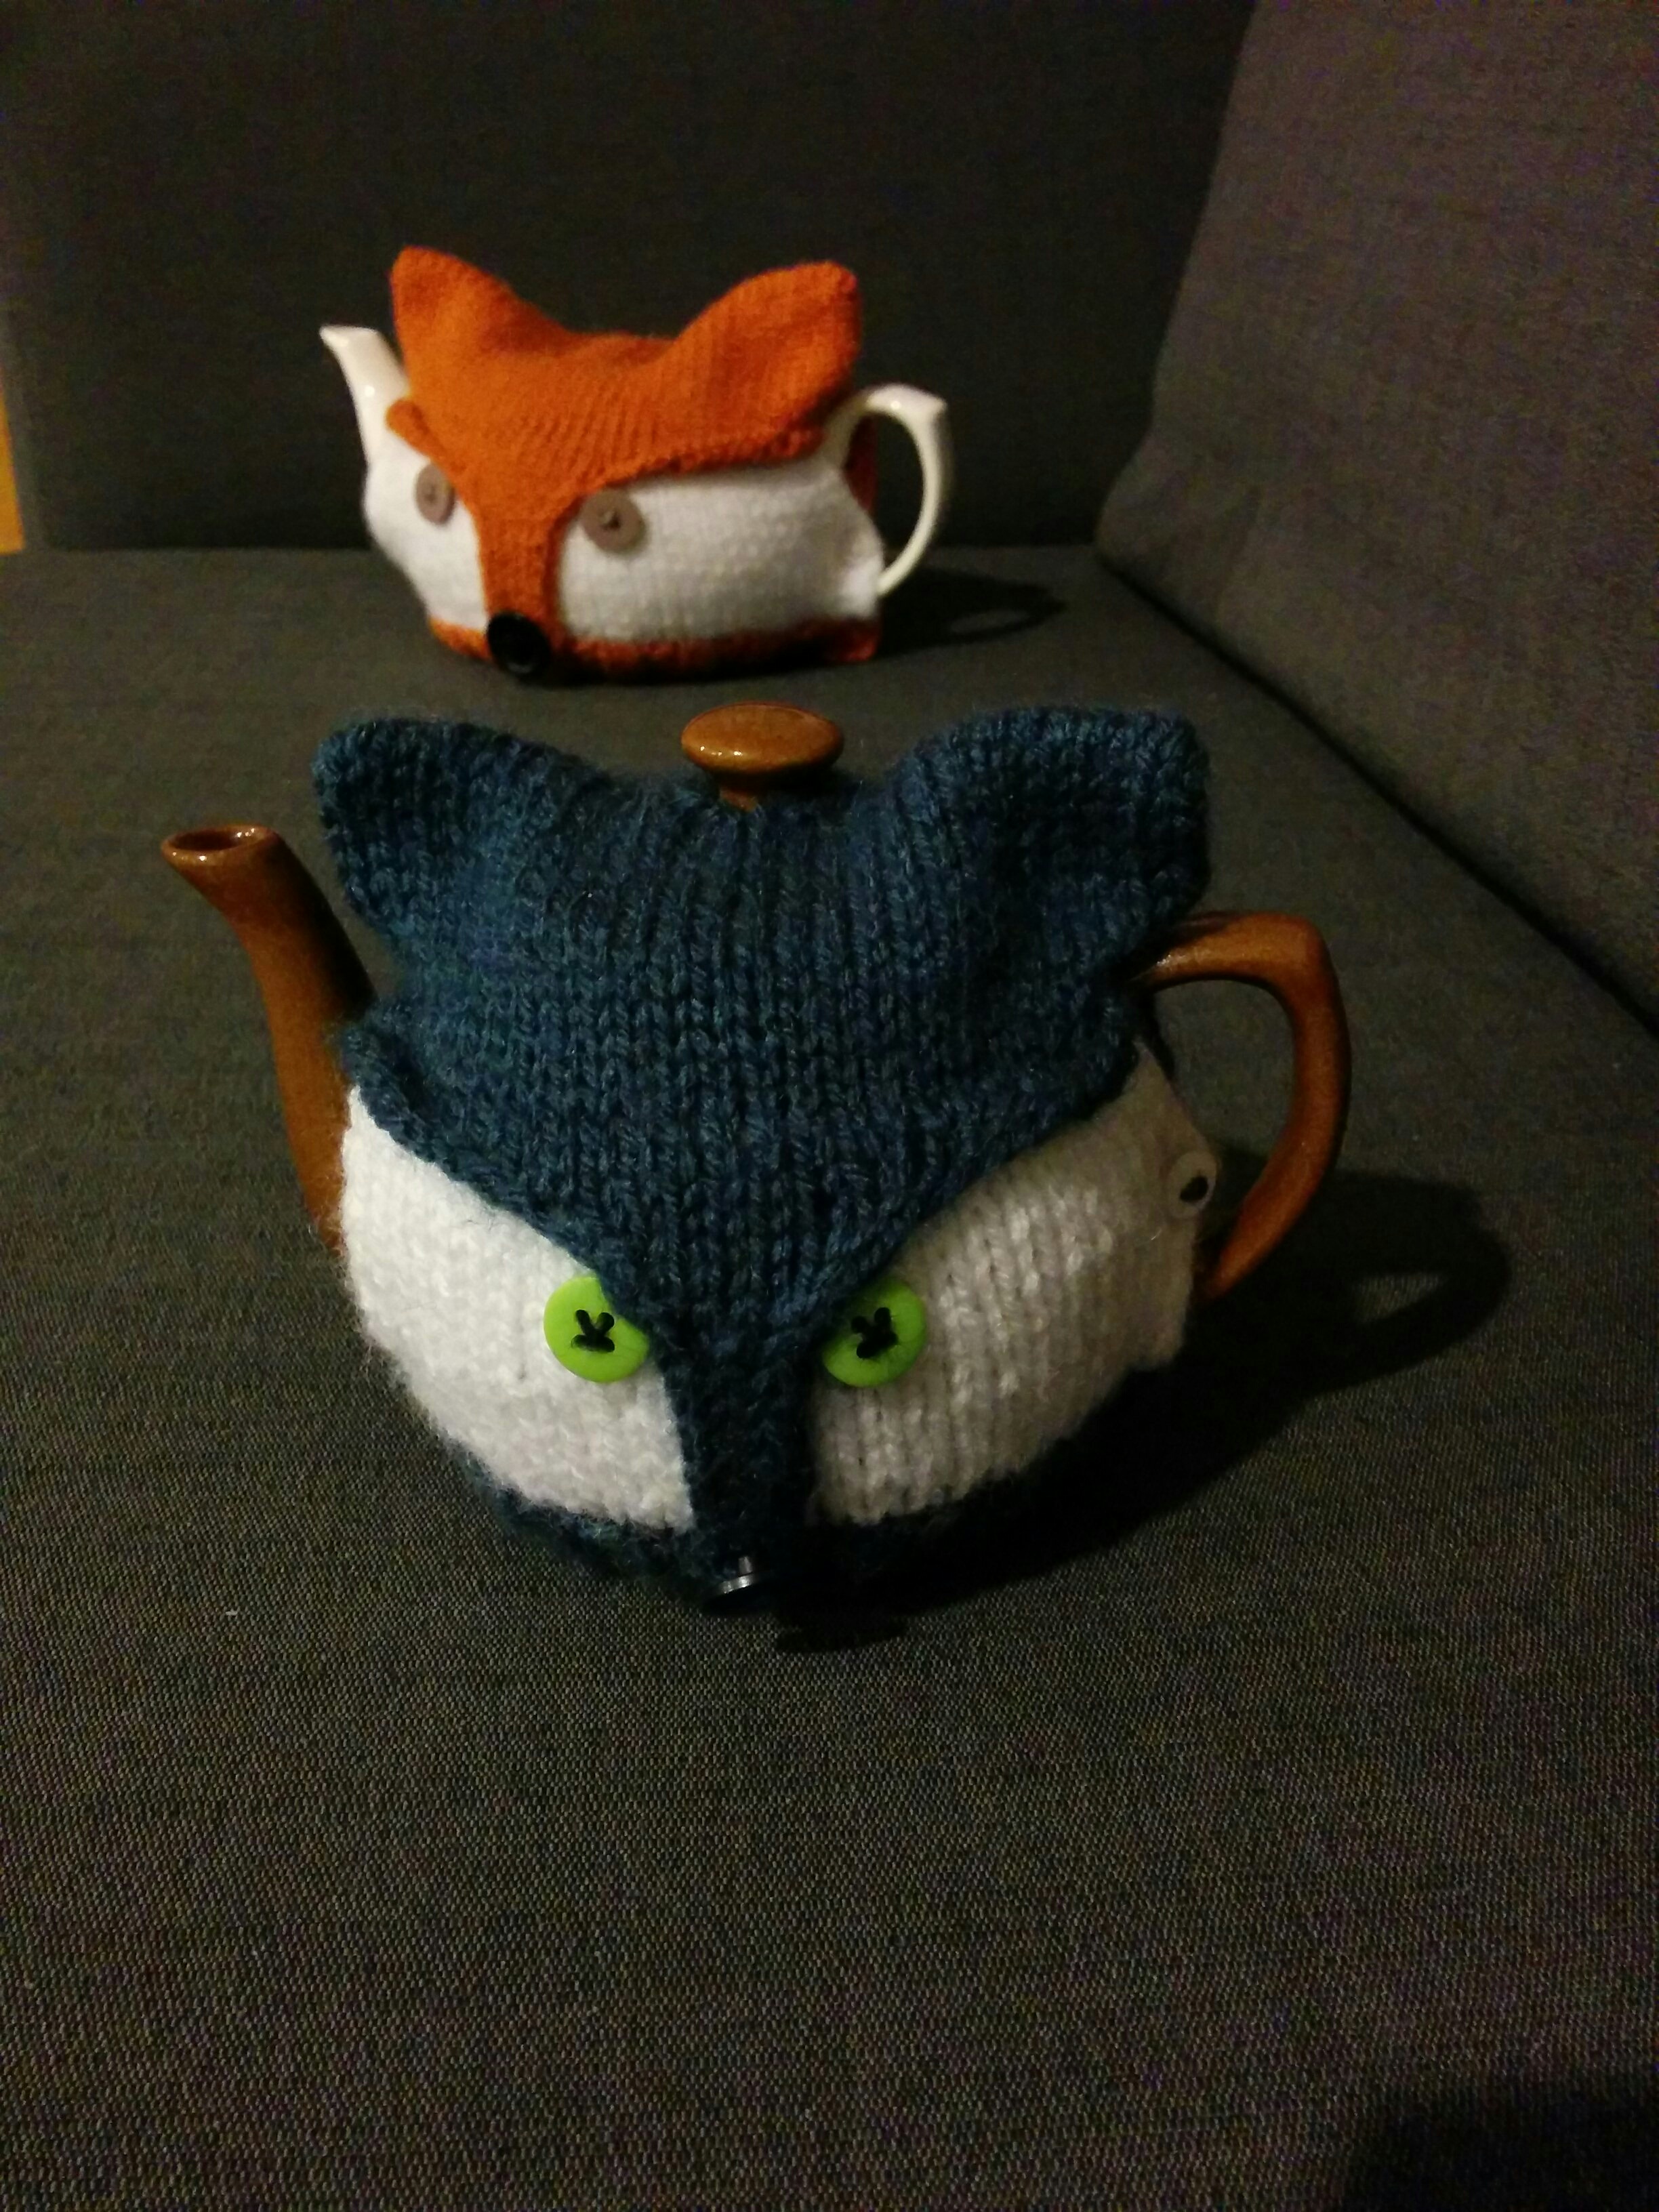
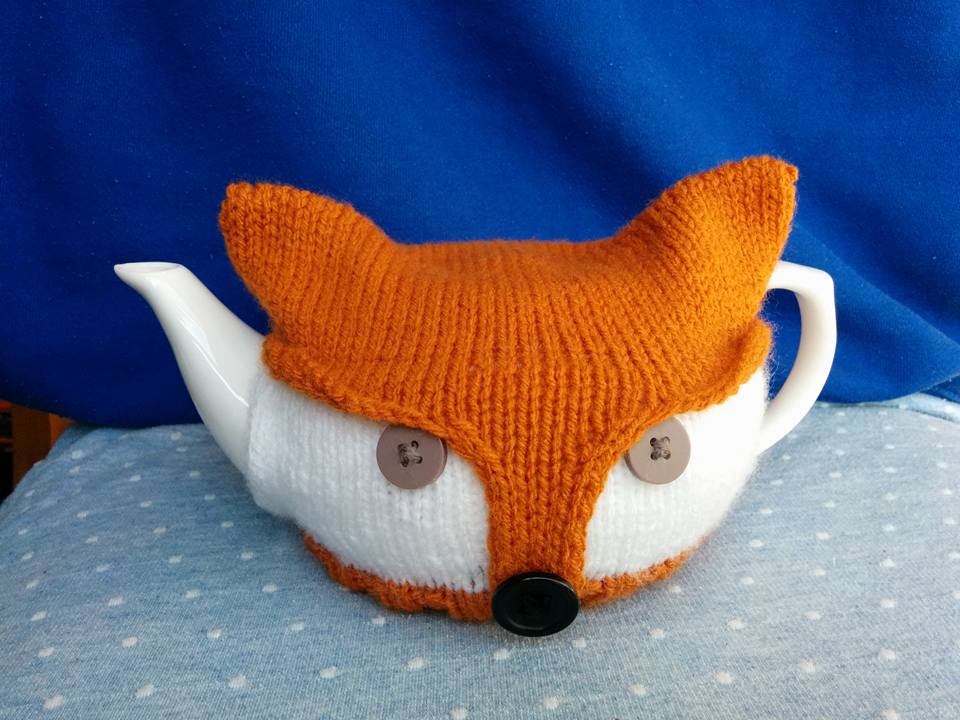
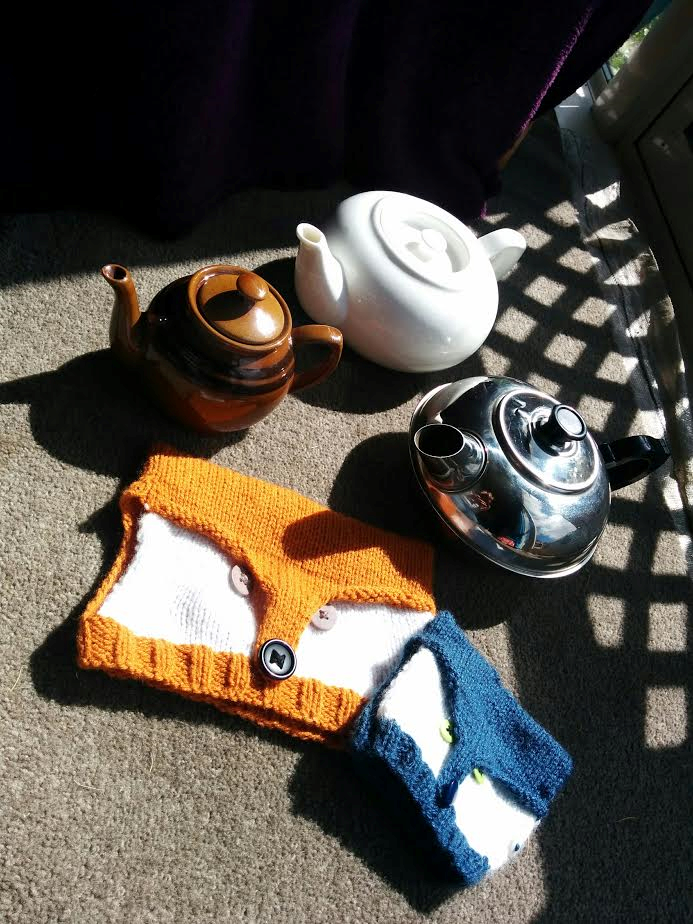
    Earlier this year my husband and I began adding tea drinking to our evenings binge watching TV series. We would regularly sip through a few cups of camomile or oolong in front of a bit of GoT or Dr Who. Eventually we invested in a teapot. This stark white teapot became a worthy target for my forever knitting fingers and thus the great Foxy Cosy was created.

    As our teapot fleet slowly expanded, I found myself drawn to recreate the glory of Foxy and eventually managed to capture the process as a written knitting pattern. I'm releasing my pattern here, free of charge to all whose stark, plain teapots are calling for foxification. Enjoy.

    Foxy Teacosy Pattern

    The Foxy Teacosy is worked from the bottom up, starting flat and joining to knit in the round for the top third (The ears and top). The top is grafted together with Kitchener stitch. The nose portion is added last. Stitches are picked up across the middle at the colour change and the nose is knitted back towards the bottom. It is then stretched into place and secured with a nose button at the centre bottom.

    The finished cosy is a rectangle shape with a gap on one side for the spout. Two buttons secure the other side around the teapot handle. The shape of the teapot brings foxy to life.


    1
    06
    13

    Baby Button Boots Pattern/Tutorial

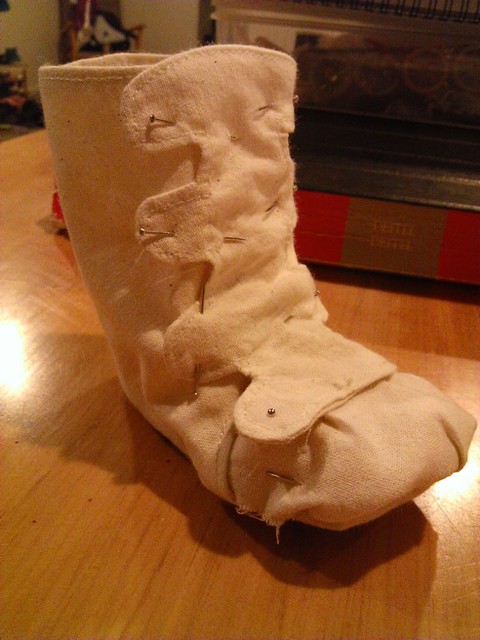
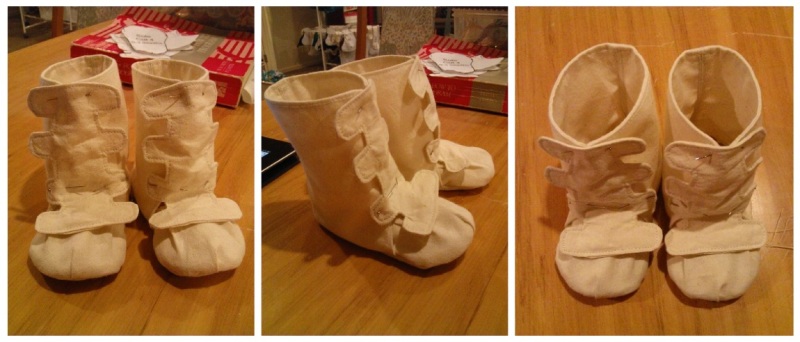
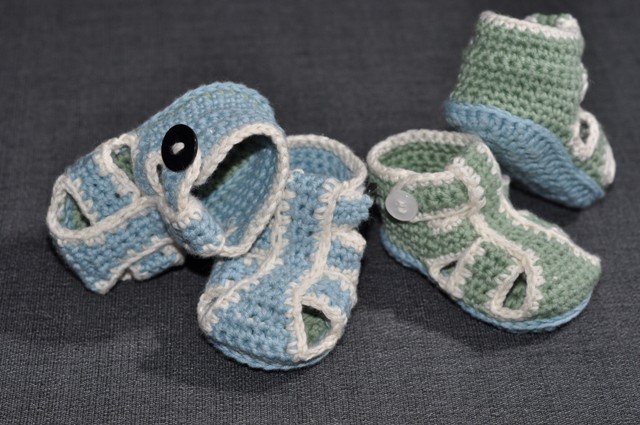
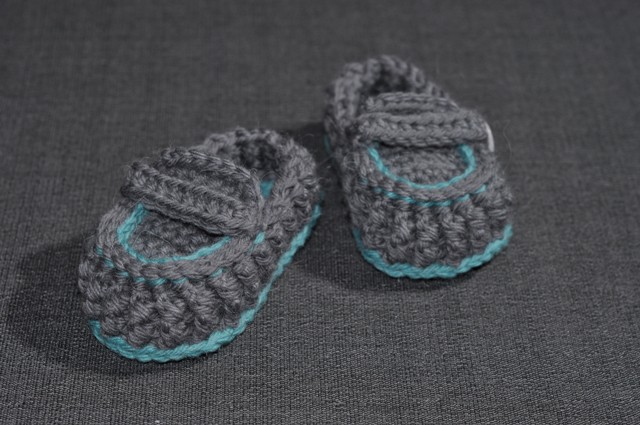
    Here is the first of my written up baby shoes patterns. I started with my favourite, and also the one that is freshest in my mind. As you can see, there is a slight mismatch between the boots themselves and their chosen name. They as yet have no buttons attached. I'm planning to add a velcro closure and sew buttons onto the tabs down the upper portion of the boot. I just don't have any suitable buttons at the moment, so you will have to use your imagination.

    First boot, just pinned

    BabyButtonBootsSmall

    ButtonBoots Instructions

    ButtonBoots Pattern

    To make the boots as pictured above, download these two PDFs and off you go. Please note, I'm not a professional pattern writer so I apologise if I've missed anything important. I tried to be as thorough as possible and included plenty of photos.

    Sizing wise, I'd guess these are about 3-6 month size. Again, I'm sorry if this isn't quite accurate. My son was a big baby, so my estimations of sizes are probably skewed a bit to the large size.

    Good luck to anyone that finds and attempts these boots, I'd love to see what people come up with and any hear thoughts on the design and pattern and will endeavour to answer any questions as best I can.


    1
    06
    13

    My new passion - Sewing baby shoes.

    So, since my lovely husband bought me a fancy new sewing machine for my birthday, I’ve been getting into sewing a bit more. It has been great fun being able to attempt projects that require more finesse than my grandma’s old machine would allow. With that I was limited to straight stitch at approximately light-speed. This made it very difficult to manoeuvre small objects or follow curves and the like. So now with my new beast I decided to try making baby shoes.

    LittleManShoes

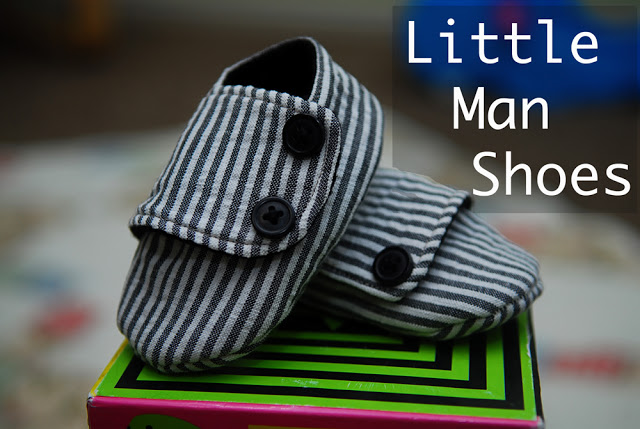
    Little Man Shoes at Shwin and Shwin

    This great tutorial was my inspiration. Being the proud mother of a little man, I’m always on the lookout for neat things to make for little boys. There is an abundance of pink and frilly on the interwebs, but boy stuff is more difficult to find. I think these are just gorgeous, and BONUS!! the tutorial is thorough and fully illustrated which always makes things more fun.

    Being a cheap-o crafter and a smarty-pants, I decided to try and make the above using 2nd hand mens ties instead of going and getting lost at the fabric shop. I altered the pattern a fair bit to make it possible to get the pieces out of a tie, and to make the finished product look slightly “tie-ish” (if that makes any sense at all). I intend to draw up the pattern I used properly in case anyone else wants to duplicate my finished shoes, but for the moment I’m just putting up pictures of the finished products.

    After my first 2 tries at tie-shoes, I thought they were still looking a little on the girly side so I tried my had and making my own totally different baby shoe pattern. I was trying for a retro kind of bowling-shoe or dance shoe or something. I’m sort of happy with the result, though the pattern needs tweaking a bit still. I ended up making one pair with a tie, and another from some scrap fabric I had laying around from my Tepee project.

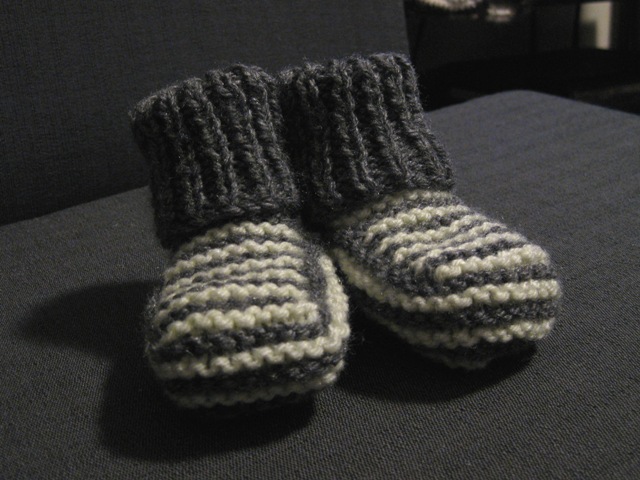
    The last 4 photos in the gallery show my latest project, which I am so pleased with. These baby boots I totally made up from scratch, inspired by a pair of baby boots I saw at the Christchurch Museum. The original boots had the added ka-pow factor of lacy trip and rope detail, but I’m still trying for gender neutral at least so I kept my first pair plain.

    So yeah, that’s my new project obsession. I’m flitting between sewing shoes and knitting baby things for our imminent new arrive and for my niece/nephew to be. My plan is to write up the patterns and instructions for these 3 different designs of shoes and release them here (for anyone that happens to be reading) as I find the time. I hope someone sees them and likes them as much as I do. If not, never mind. I had fun anyway.

    The last 4 photos in the gallery show my latest project, which I am so pleased with. These baby boots I totally made up from scratch, inspired by a pair of baby boots I saw at the Christchurch Museum. The original boots had the added ka-pow factor of lacy trip and rope detail, but I'm still trying for gender neutral at least so I kept my first pair plain. So yeah, that's my new project obsession. I'm flitting between sewing shoes and knitting baby things for our imminent new arrive and for my niece/nephew to be. My plan is to write up the patterns and instructions for these 3 different designs of shoes and release them here (for anyone that happens to be reading) as I find the time. I hope someone sees them and likes them as much as I do. If not, never mind. I had fun anyway.


    25
    05
    13

    Beanbag

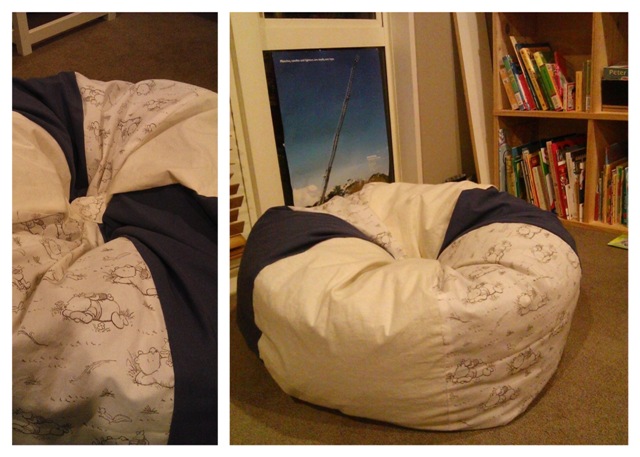
    This week's project was a beanbag to eventually go up to Oscar's bedroom. Until the rest of that is all sorted, it will stay down in the lounge with all his books. I found this cute pattern through Pinterest, though the original tutorial page doesn't seem to exist any more the cached pattern PDF download can be found by doing a quick google for "micheal miller bean bag chair tutorial" (at the point of writing this anyway). There are 2 versions; kiddy size and adult size. I made up the kids one using a $2 op-shop king sized sheet, a metre of winnie the pooh fabric and some calico scraps that I had lying around. Here's the result:

    Finished, complete with cover

    Finished, complete with cover

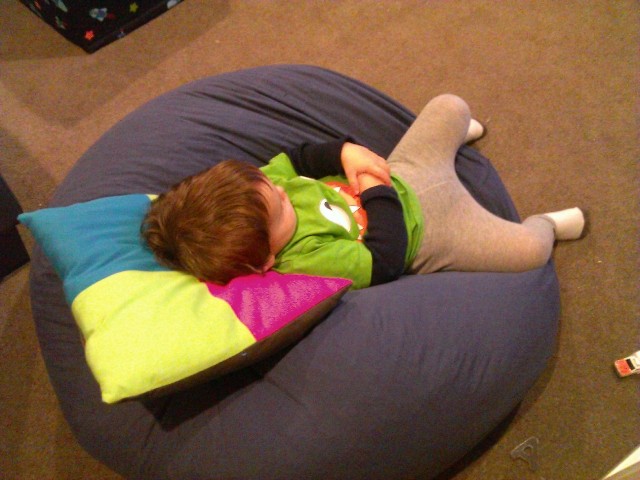
    Oscar assuming the maximum relaxation position:

    Oscar assuming the maximum relaxation position.

    If I made one again, I'd add more beans. 100L just isn't quite enough for a firm beanbag and now that the inner lining is sewn closed I can't add more to this one without considerable effort. Still pretty happy with the outcome and looking forward to reading many stories from here.

    Tagged:

    21
    04
    13

    Play Tepee

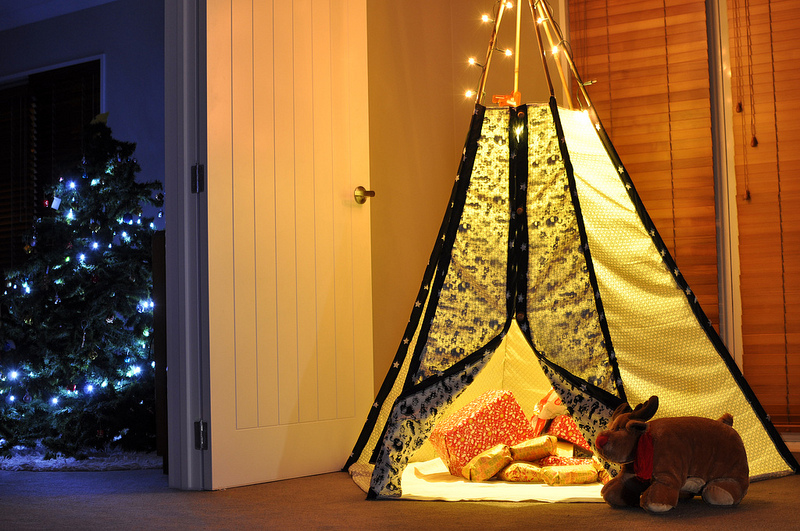
    For Christmas this year I made a tepee for Oscar. It took me a few evenings to muddle out a plan and another week or so to sew it up during nap times. I wrote down a crude set of instructions on how to make one for a couple of friends, and thought I'd share here in case there's anyone following my exploits that wants to have a go. The instructions are rough, but hopefully are enough to give an understanding of the process.

    Hexagonal Based Tepee (PDF)

    The final product, as presented to the wee man on Christmas morning:

    The final product, as presented to the wee man on Christmas morning.


    21
    04
    13

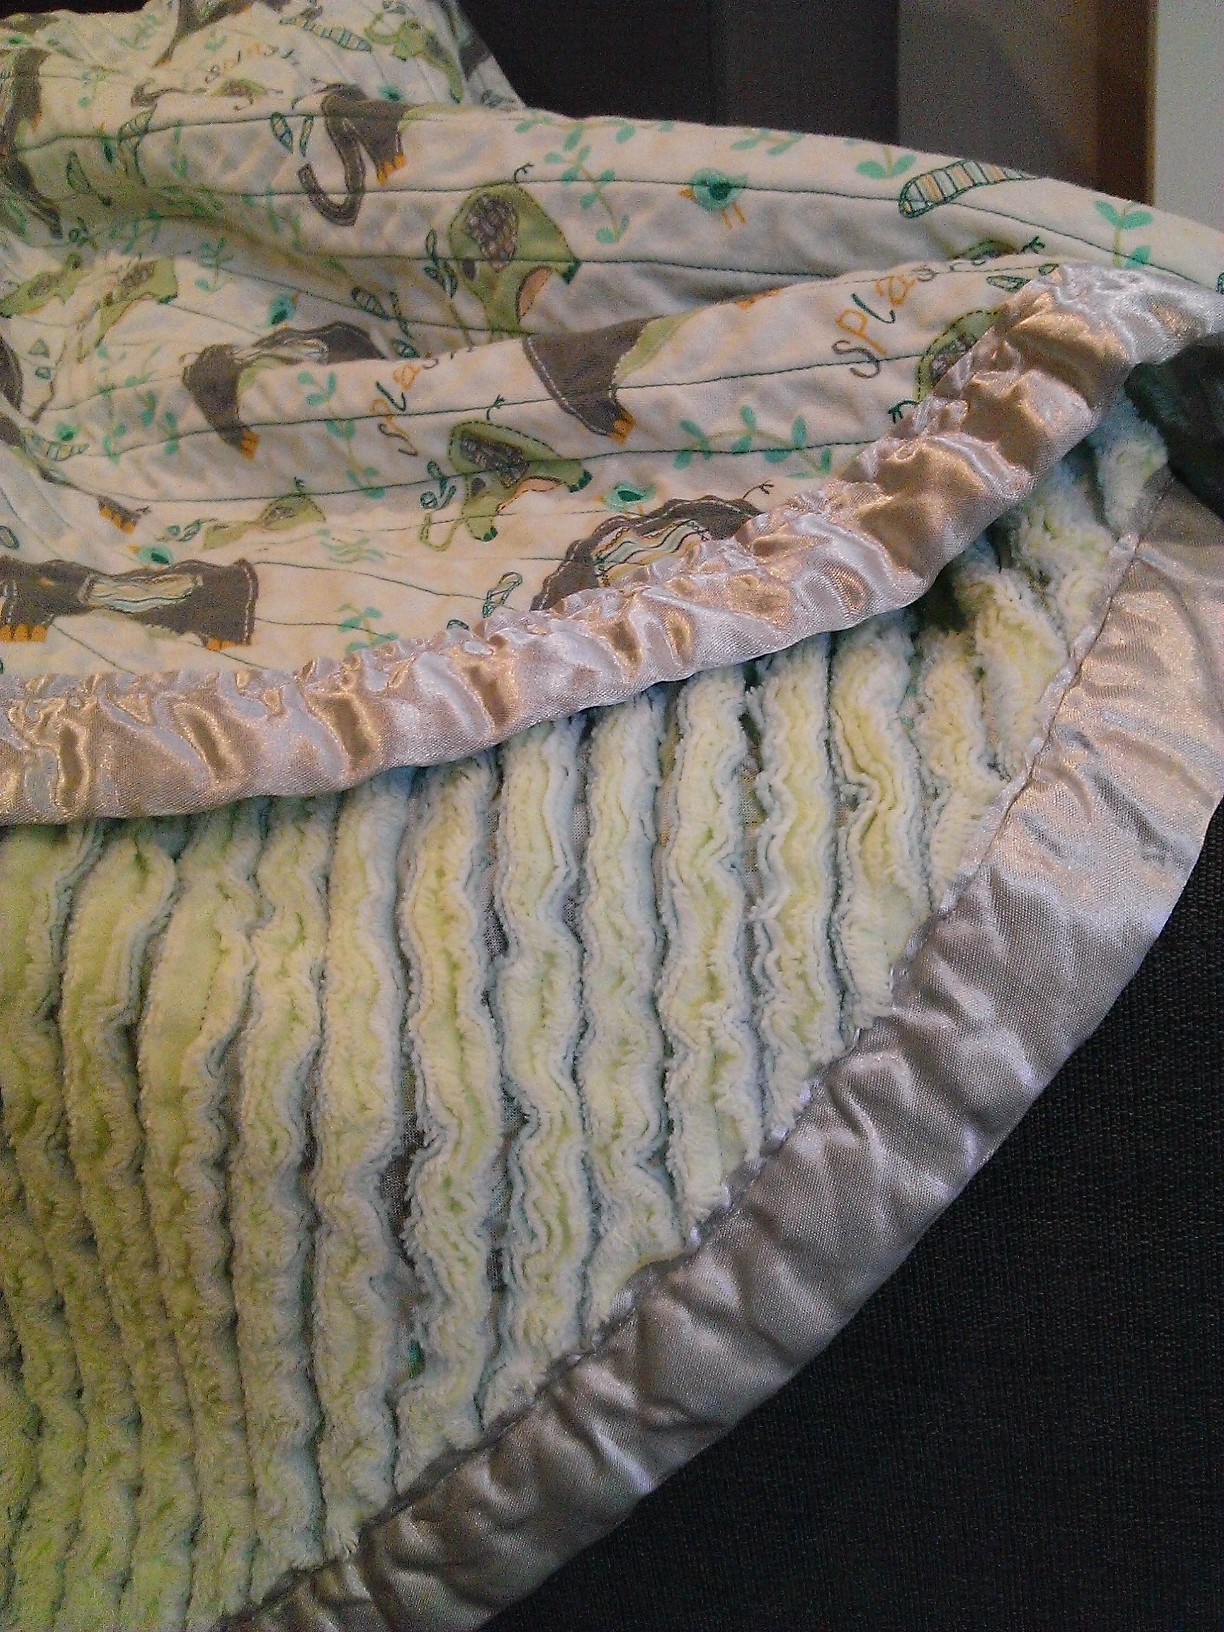
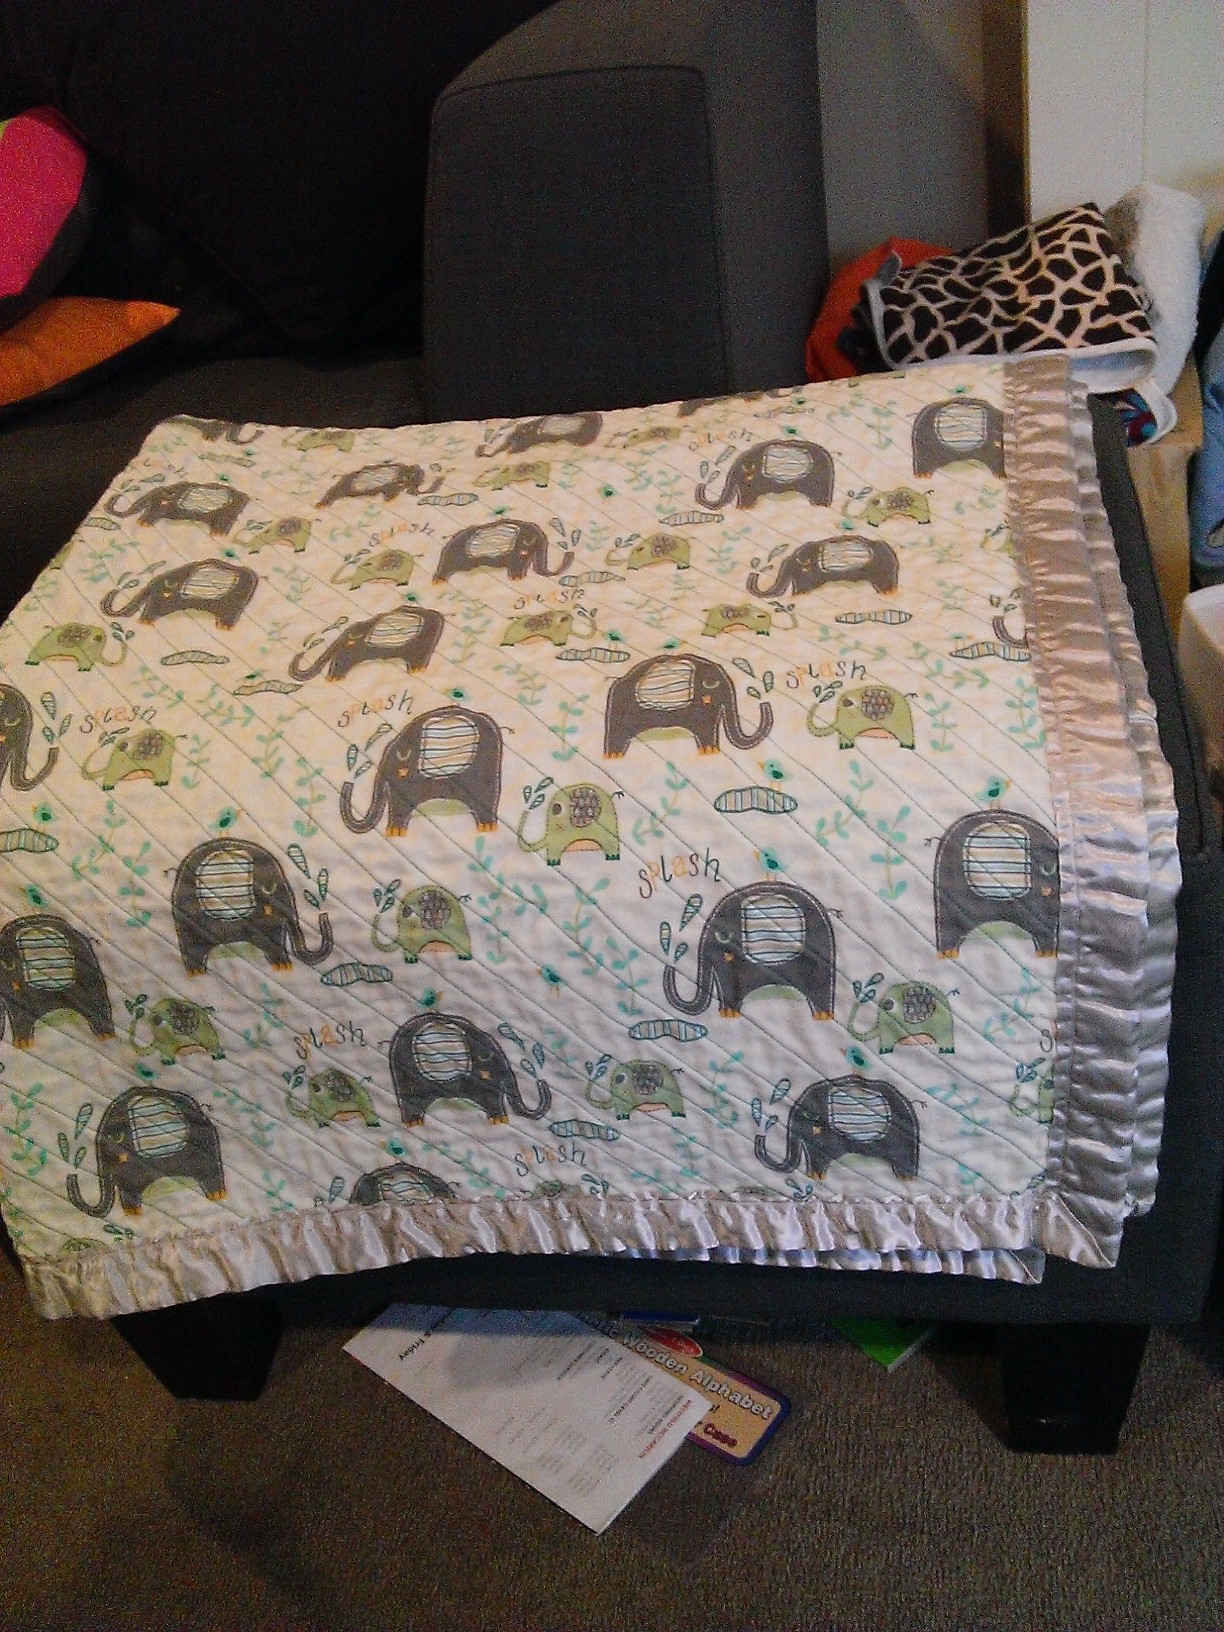
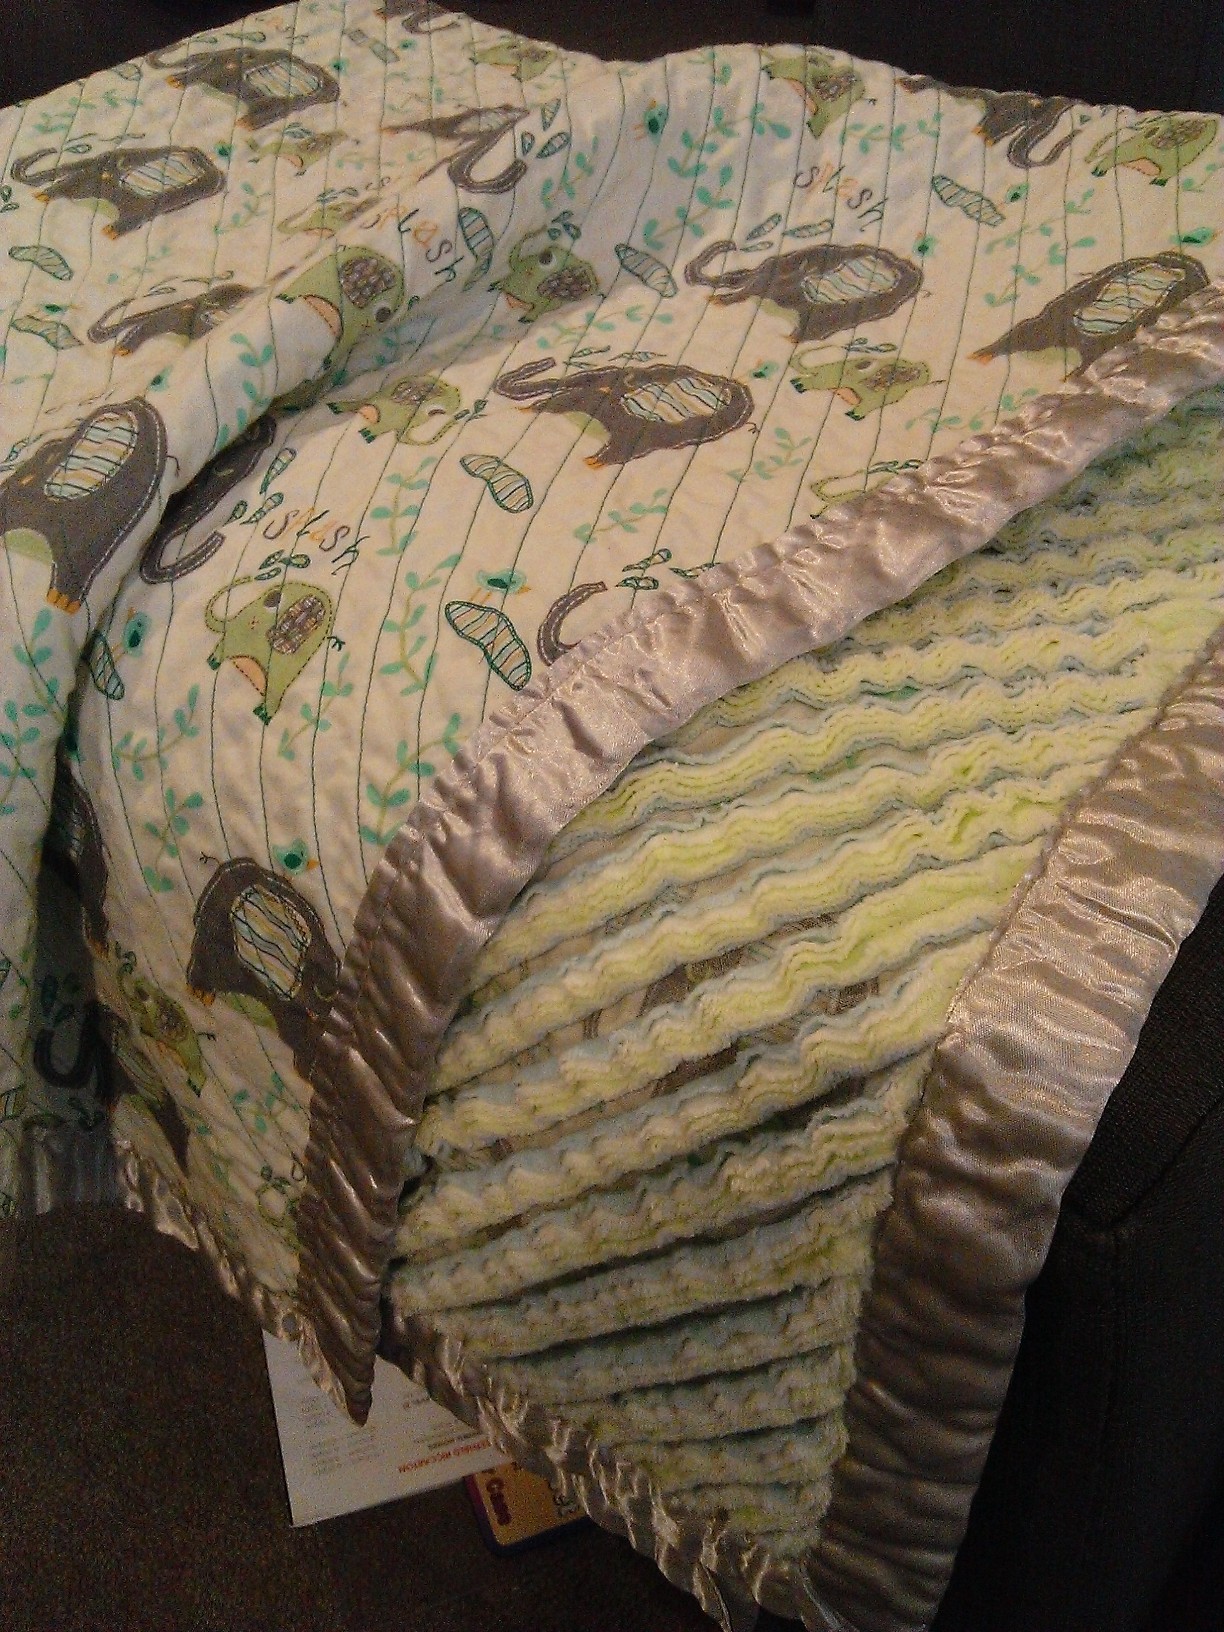
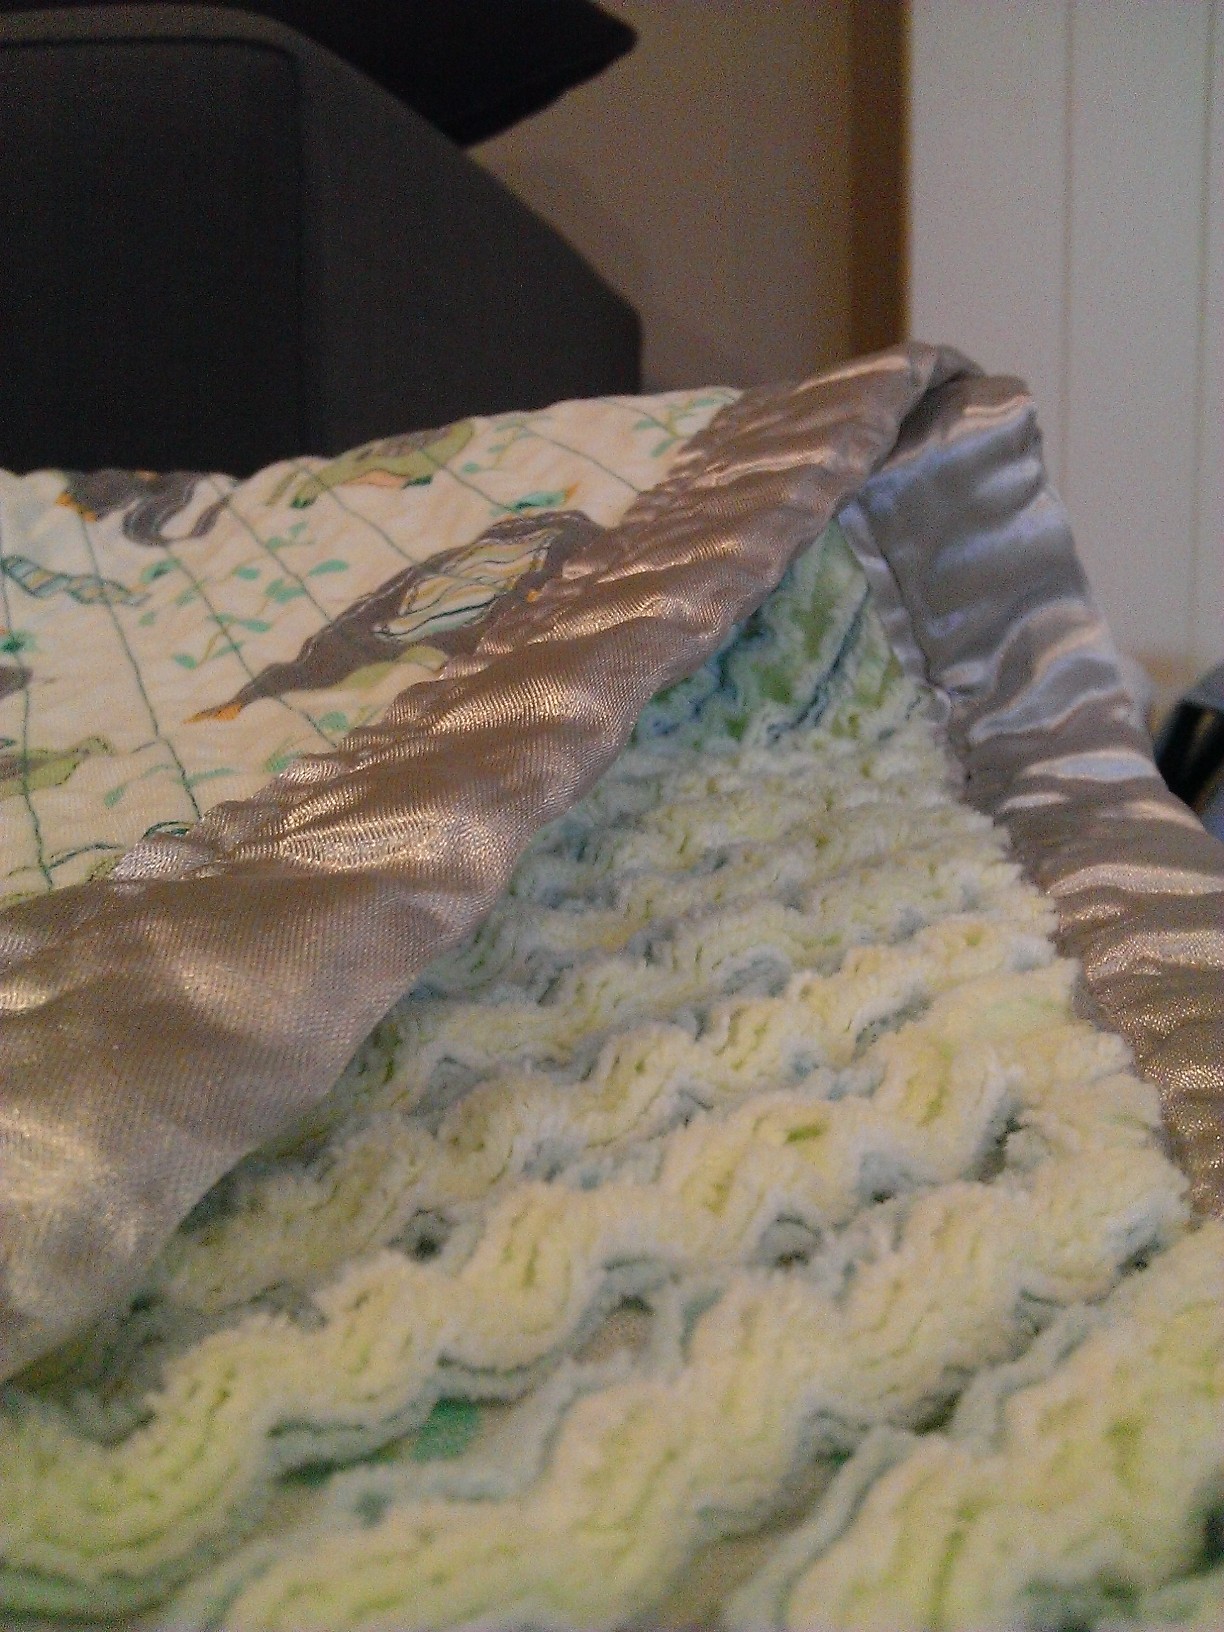
    Cut chenille baby blanket

    The great thing about Facebook due groups, (and the internet in general) is the amazing things people find and share in them. I just finished making one of these for the little bun.

    http://www.danamadeit.com/2008/07/tutorial-faux-chenille-blanket.html

    (Actually ended up following this tutorial, as I liked the idea of using flannelette for the back)

    http://www.aestheticnest.com/2010/08/sewing-heirloom-cut-chenille-baby.html

    I’m super happy with how it turned out, what an awesome idea. Extremely labour intensive (by my lazy standards) but the moment it comes out of the dryer is totally magical.

    Tagged:

    21
    04
    13

    Toddler Tee-Shirts

    Poor neglected blog. Here I am again. A quick recap of life since March 2011:

    I retired into full time mummyhood, Baby Oscar was born and has been growing ever since, I had an unexpected medical adventure which left me banned from driving for a year, we sold our house and moved to Christchurch, now expecting baby number 2. And I guess that’s about all :)

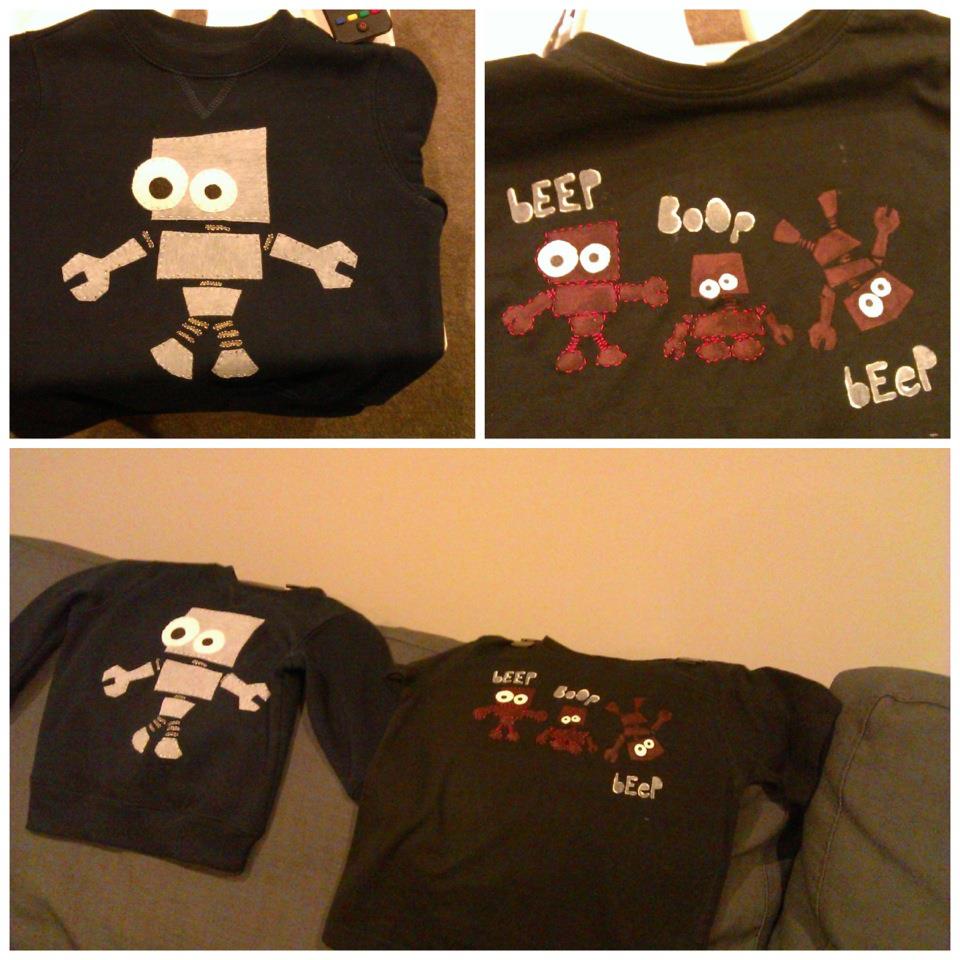
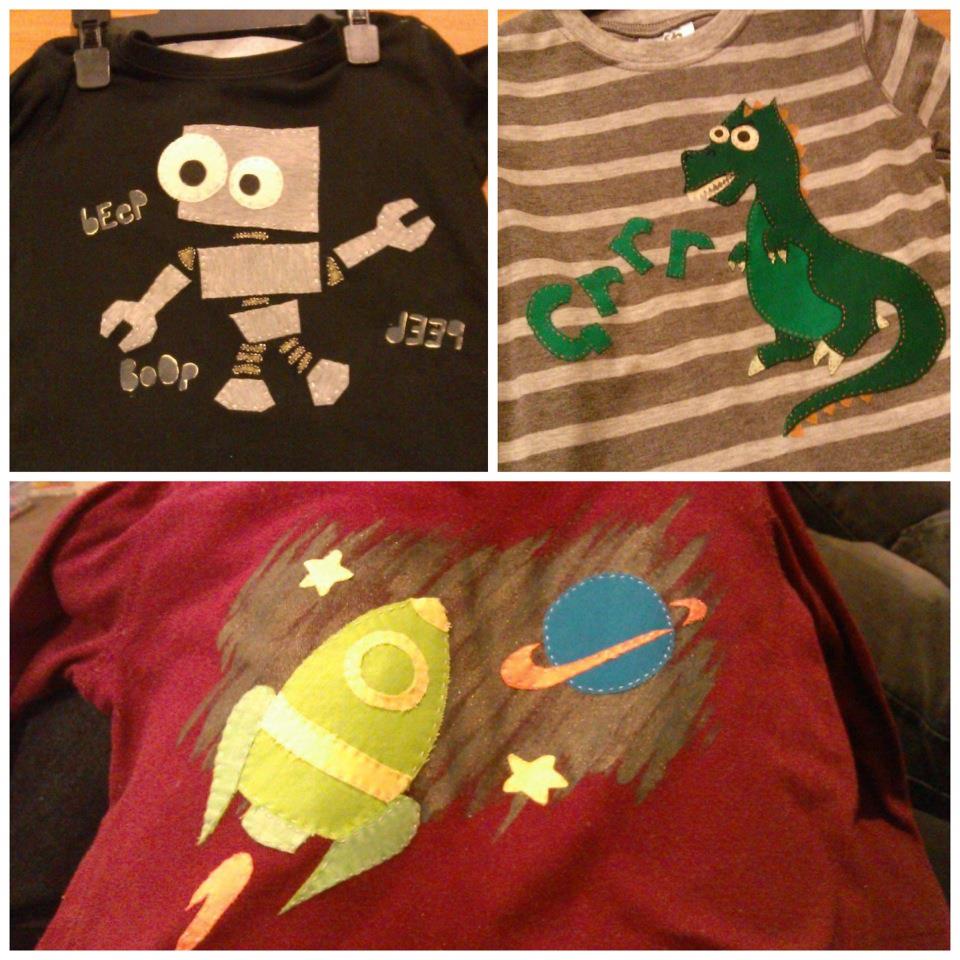
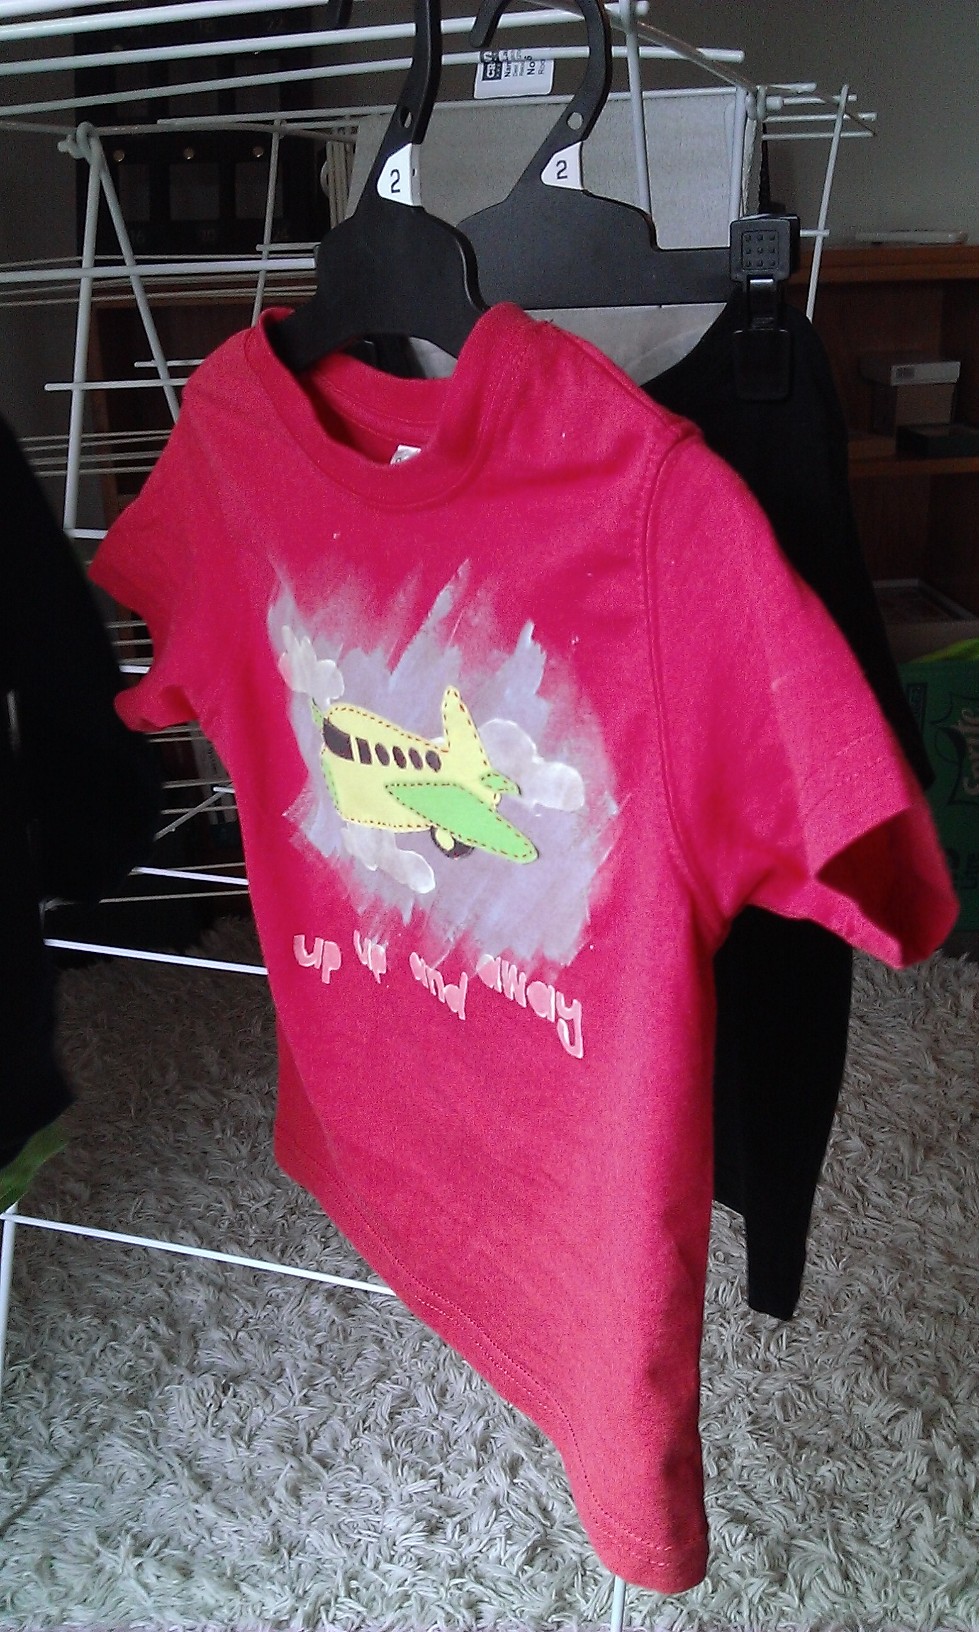
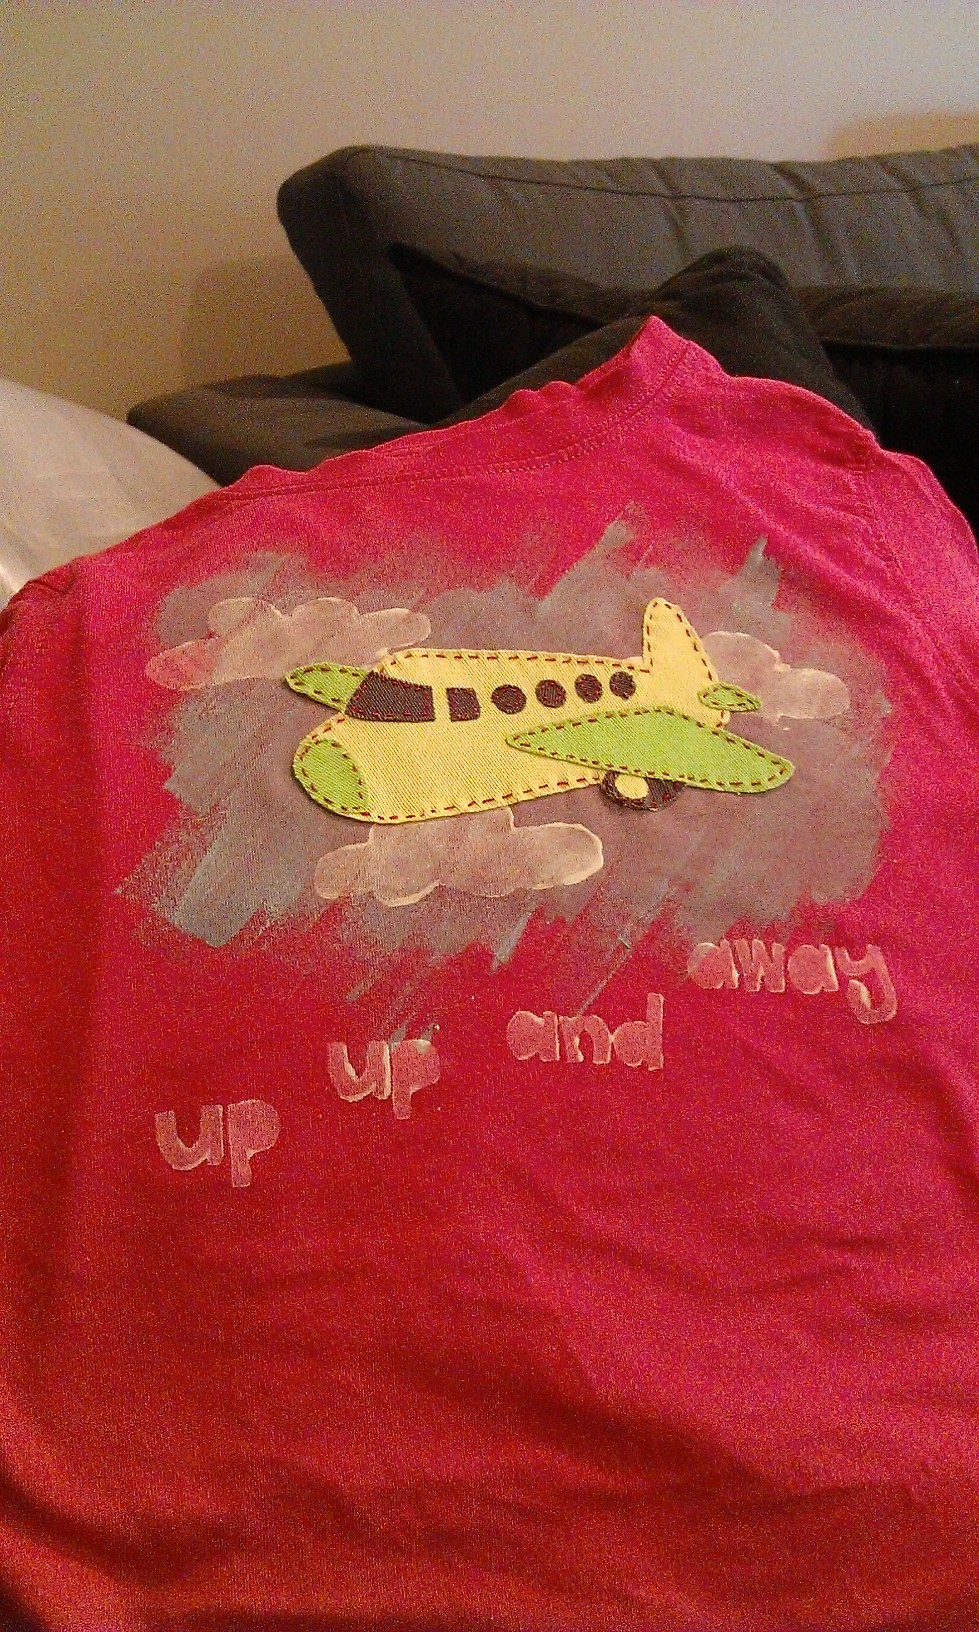
    So, throughout all that I’ve had a had a heap of projects on the burner. Some made it to completion and others are still in boxes in the garage, or crammed in bags under the couch. One of my more recent experimentations was with appliqué and fabric painted toddler tee-shirts and sweat shirts. Here they are:

    I had fun, but I’m sick of them now. I might revisit this project if I have some more ideas of cute boys shirts.

    Tagged:

    23
    03
    11

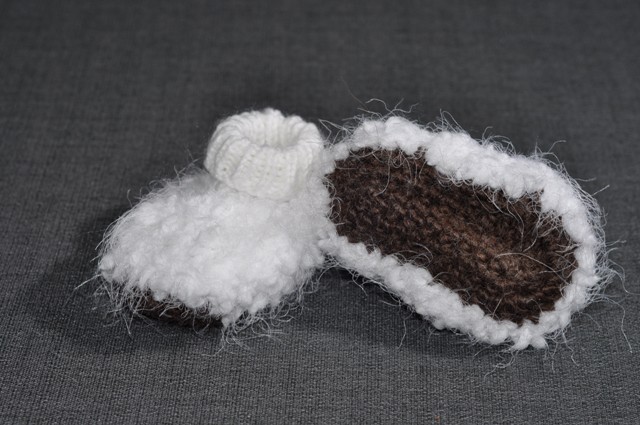
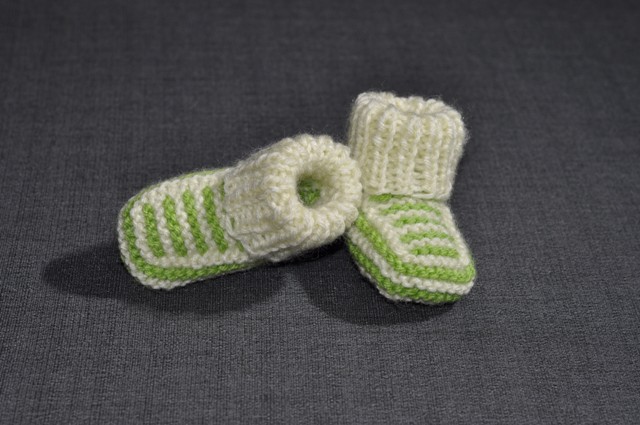
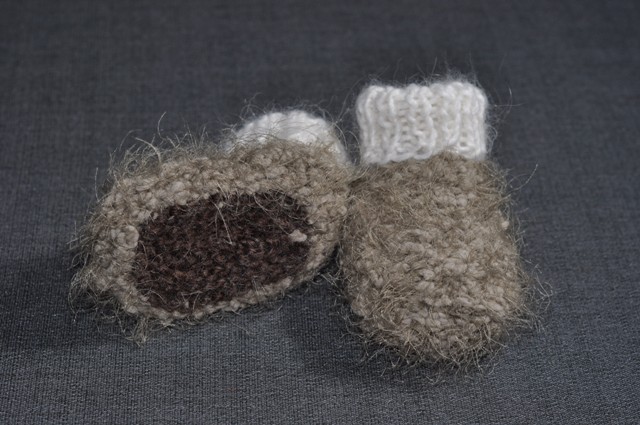
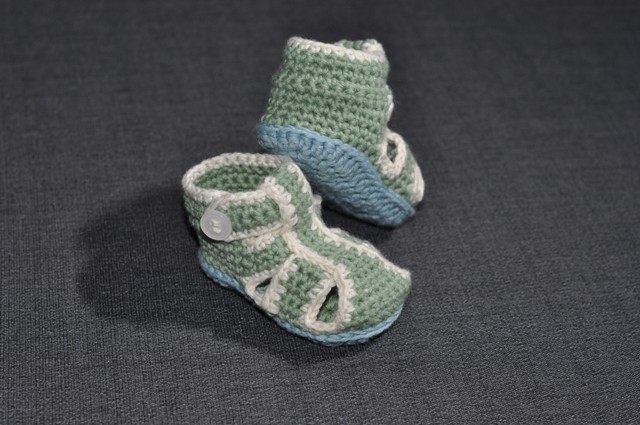
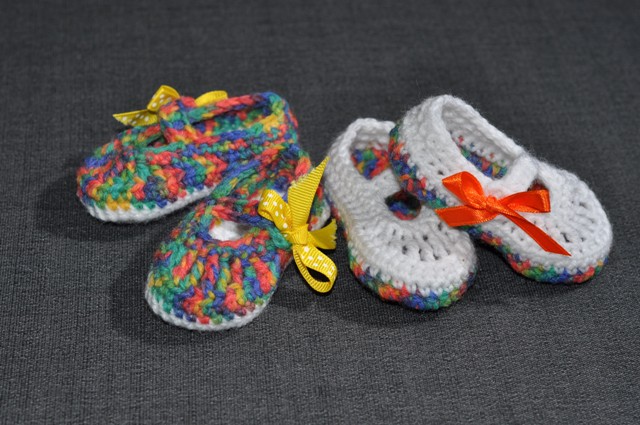
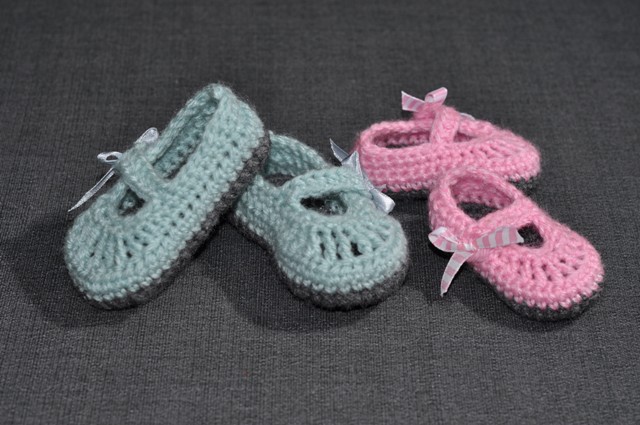
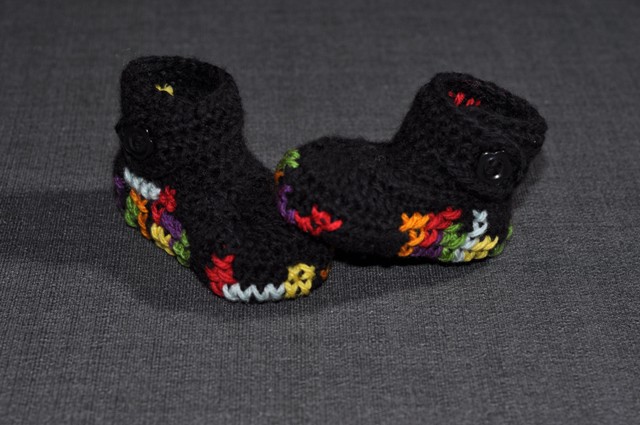
    Another Booties Fest

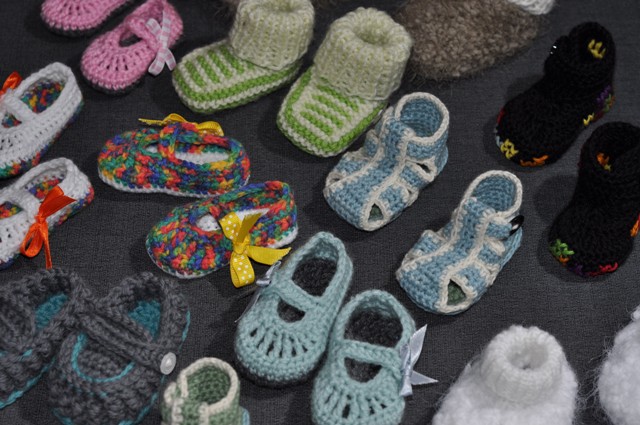
    Something tells me my brain is going through baby fever. I wonder why :o) Taking a small break from booties for a while though. 3 sweet cardigans on their way now, boy do they take longer than booties.


    16
    11
    10

    Two fun WP7 development Fakts

    1) StatusBar != StatusBar

    The statusbar at the top of the screen, referred to as “StatusBar” in the official WP7 interface design document and pretty much everywhere else, is not called a “StatusBar” in code. To set the visibility of the “StatusBar” in xaml, in your page:

    <phone:PhoneApplicationPage
        xmlns:shell="clr-namespace:Microsoft.Phone.Shell;assembly=Microsoft.Phone"
        shell:SystemTray.IsVisible="False"
    >
    

    Apparently it’s actually called the “SystemTray”. This caused me hours of fruitless Googling “WP7 Hide StatusBar” when trying to figure out how to get rid of it in my fullscreen WP7 game, and I was a little annoyed at the end of it.

    2) Generating XAML content in Expression Design for use in a WP7 game

    For years now, Expression Design has been my favourite piece of vector graphics software. During my career as an iPhone application developer, essentially all graphic content of the apps I developed was made in Expression Design and exported to PNG or TIFF. This didn’t take any advantage of the vectory goodness other than to allow me to easily resize and re-export when I mucked up required sizes etc. but due to the simplicity and elegance of the software, made my job more enjoyable.

    My masters project (a sheet music reader/annotator/organiser) however is positively dripping in vectory goodness. In this I have used Expression Design to export XAML drawing brushes for each bar of music displayed. This gives me smoothly zoomable music that looks, dare I say, fantastic. Anyway… moving on the grunt of this Fakt:

    When I started developing FruitSalad for WP7, I decided to make it in Silverlight instead of XNA, so as to enable use of pure XAML graphic content. There were a few stumbling blocks on my way to getting this to work though:

    3) Silverlight for WP7 doesn’t support DrawingBrush

    So my WPF approach of creating a DrawingBrush for each graphical resource (in this case, each piece of fruit) and binding in to the Fill property of a rectangle (or Backrground property of a Grid panel) would not work at all.

    4) Silverlight for WP7 doesn’t support ViewBox

    Due to the complicatedness of each of my pieces of fruit, simply ctrl+shift+c –ing to copy the XAML used a combination of Canvas, Path and ViewBox objects. Not supported.

    My solution: Use Expression design to export as XAML Silverlight 3 Canvas. This created simple enough XAML to use in a XAML app.

    My next issue was how to actually use these Canvas items in such a way that I didn’t need to create a separate UserControl for each different type of fruit in my game. Ideally what I wanted to do is have a Fruit object that changed its Content to the appropriate Canvas for its fruit type.

    I couldn’t figure out how to do this sensibly, but did come up with an incredibly convoluted solution. The main problem I encountered was that I wasn’t able to Bind a StaticResource to the Content property of an element. So what I ended up doing was creating a Button Style Template for each type of fruit:

    <Style x:Key="WatermelonBlock" TargetType="Button">
    <Setter Property="Template">
    <Setter.Value>
    <ControlTemplate TargetType="Button">
    <Grid HorizontalAlignment="Left">
    <!– The Exported XAML Canvas –>
    <Canvas …. />
    </Grid>
    </ControlTemplate>
    </Setter.Value>
    </Setter>
    </Style>
    

    Then apply the appropriate style when the fruit type of the control is set:

    private static void OnTypeChanged(DependencyObject d, DependencyPropertyChangedEventArgs e)
    {
        FruitView view = d as FruitView;
        //Get the string key for the type eg "WatermelonBlock"
        string styleString = view.GetStyleString(view.Type);
        Style fruitStyle = view.Resources[styleString] as Style;
        view._RootButton.Style = fruitStyle;
    }
    

    The fruit object itself looks like this:

    <UserControl>
    <Grid>
    <Button x:Name="_RootButton" Style="{StaticResource WatermelonBlock}" Click="Button_Click">
    </Grid>
    </UserControl>
    

    I think this is a messy solution, but at least it works. If anyone can find a better way to do this, I’d love to hear about it.

    So those are two of the roadblocks I reached when starting out with WP7 development. I hope my solutions can help others to convert fruitless Googling and forum searching into productive coding time. But where’s the fun in that?

    1
    11
    10

    WP7 Challenge

    So, with 5 days before closing I decided to make a WP7 game to enter into the NZ WP7 challenge

    www.microsoft.co.nz/wp7challenge

    This is what I came up with: Fruit Salad.

    NZ WP7 Challenge - Fruit Salad Submission Video

    Now, bare in mind this is < 5 days development. And that 5 days included learning how to actually do game development in Silverlight and the several hours of freaking out every time it became apparent that my WPF fueled plan was impossible due to lack of <drawingbrush>, <viewbox>, translate transform bindings … so pretty much .. tremble at the awesomeness of my last minute coding skillz!

    Application Description:

    Fruit Salad

    Fruit Salad is an exciting twist on the typical sorting game, as to play, you need to learn Maori, challenging your memory and dexterity.

    When the game starts two kete (baskets) appear on screen, along with a never ending supply of fruit and vegetables. Sorting will depend on the labels on the kete; you might be sorting the fruit from vegetables, or the green from red.

    Drag and flick kai into the appropriate kete but be careful, if you sort into the wrong kete, or if you let the kai rot, you’ll lose points!

    Tagged: